Have you ever wanted to control your HomeKit and other smarthome-enabled accessories without opening an app or using one of the many often infuriating smart assistants? Well, look no further than NFC tags (Near Field communication). These discrete and affordable accessories allow for control of individual devices or whole scenes with the swipe of your phone. In this guide, we will be looking at setting up these tags with an IOS device but android devices will be capable of similar.
For this tutorial, you will need a few things.
- An iPhone XR or higher.
- Shortcuts (a free IOS app) that you can download from the App Store
- An NFC tag. These come in a few different styles, stickers, plastic discs and bigger. it’s upto you to decide what works best for your home but for me, I used these plastic discs andsome double-sided tape to stick them around my home.
- Creativity, what I’m going to be doing in this tutorial is showing off a few simpleautomations but honestly, the sky is the limit so get creative and see what you can do.
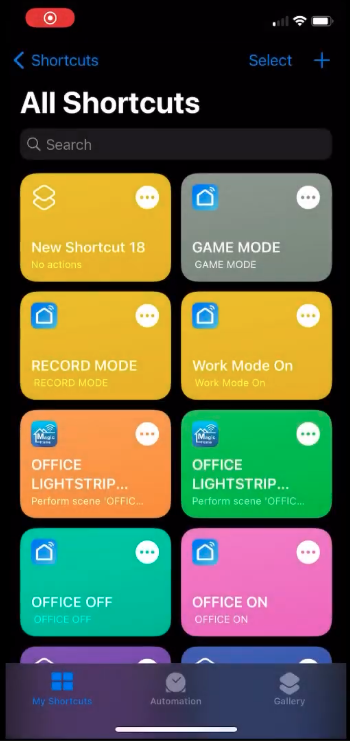
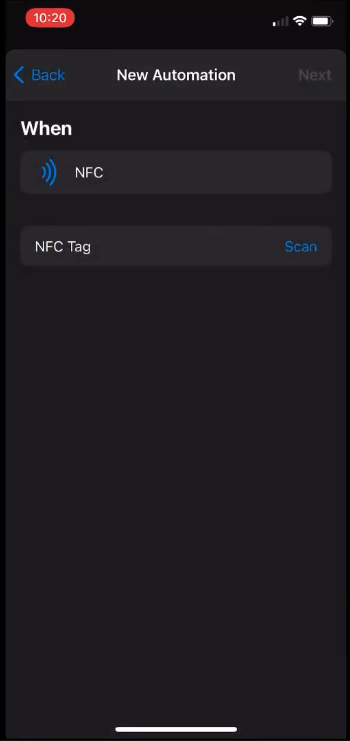
Creating new automations is as simple as going inside the shortcuts app and heading to the ‘automations’ tab and creating a new personal automation as this is the only way to utilise NFC tags, from here you can see a whole list of triggers but for now scroll down till you see ‘NFC’, next up we will need to scan the tag we plan to use so just hold that up to the top of the iPhone and give the tag a name.
Next up is where we get creative! From here we can set any number of actions and even script different scenarios. For now, let’s keep it simple by setting a HomeKit-enabled light to turn on.
From the add action screen search ‘Home’ and select ‘control my home’. Clicking set will allow us to choose the accessory(s) we want to control, on the next screen set the states for each accessory (long press for more options) then hit done. And boom you just completed your first tag.
It’s worth disabling the ask to run and notification options on this last screen too as this will significantly slow down the running of automations and can get pretty annoying if you have loads of these scattered around.
Let’s get more creative here though with an ‘if’ statement to toggle an accessory on and off. I’m going to assume by this point you have set up your tag if not go do that following the above steps.
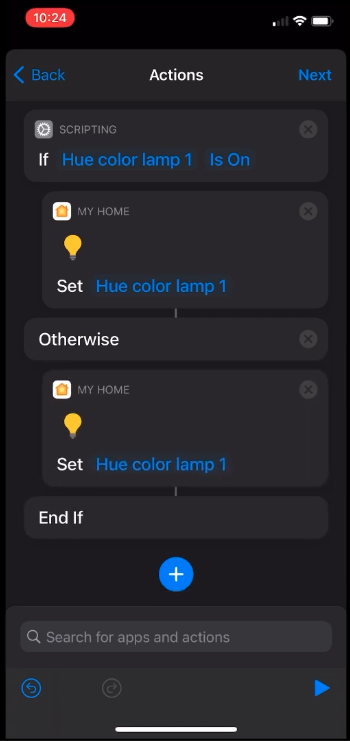
Now let’s add an action, this time choosing ‘scripting’ and the if statement. For input let’s choose ‘Select A Home Accessory’ and choose the accessory. Next up let’s click the ‘name’ box and change
it to ‘is On’. finally hit the plus icon to add an action, turning the accessory off through ‘ Control My Home’. Adding the second action, turning the accessory on allows us to place both commands within our if loop, in turn, toggling the switch on and off.
For the last shortcut, we are going to look at asking for user input, This can allow for incredibly powerful automations that interface with your smarthome devices or in this case triggers actions on your phone.
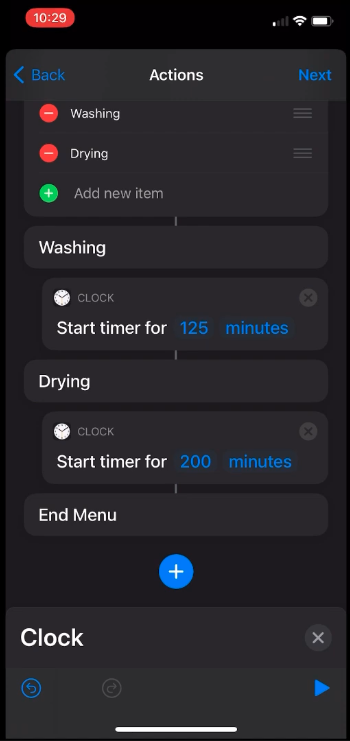
For the purposes of this tutorial, scanning the tag will ask the user if they are washing or drying clothes and then set a timer for the corresponding time. We set up our tag as normal but this time selecting ‘choose from a menu’ as our input. For the prompt, we can set the question or have any text we like and add any number of responses for me it’s just the 2. For each option in the menu, We can string any number of actions we like but to keep things simple we are going to simply set a
timer for different times based on the input, we can even run shortcuts from our shortcut creating a weird shortcut-ception but also allowing 3rd party smarthome apps such as smartLife to have their premade shortcuts triggered too. all by just the swipe of your smartphone.
As I mentioned above these little tags really do revolutionise smart home automation in a cheap and versatile way, do you have a favourite shortcut? why not share them down below?